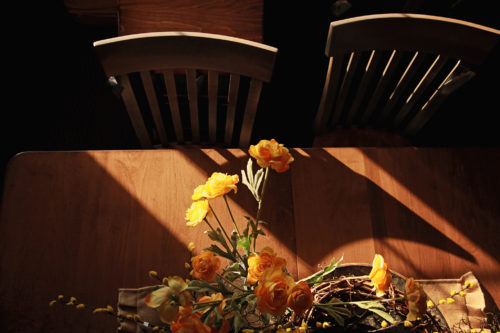
A centerpiece is a decorative display that brings your whole home’s style together. Creating centerpieces for future gatherings or dinners is a fun way to embrace your creative side and form a warm, welcoming home.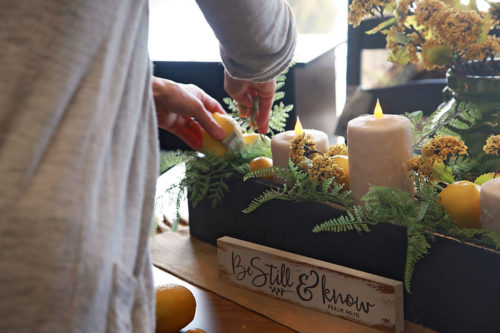
Our decorators here at the Intercourse Peaceful Valley location, Erla and Anna do a fantastic job at creating unique, seasonal centerpieces. If you have had the chance to visit our store in person you probably have seen their handiwork displayed on our handcrafted tables and on the walls. Today we wanted to share their three general rules/steps in creating a centerpiece.
Step 1 – Start with the Basics
To begin creating your timeless centerpiece, start off with the basics.
Erla usually begins a centerpiece with a basic long tray. Other starting items could be a lantern or piece of pottery,
decorative pieces that will stand out while also bringing your display together.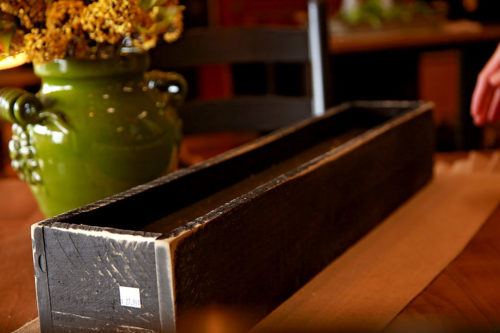
This is the very first step of creating a stunning centerpiece for your home!
After you’ve selected your starting piece, it’s time to build up around that item, working out from the middle. Remember to balance out the sides properly, so your display doesn’t feel lopsided or disjointed. For example, if we add a fern to one side of the centerpiece, we will also add it to the other side as well.
Tip: Add greenery, faux flowers and fruit last. These decorative items are the finishing touch that will pull the look together, they work great for filling in empty space and adding pops of color.
Step 2 – Add Variety
Decorations that vary in style, texture, and height are key to a beautiful 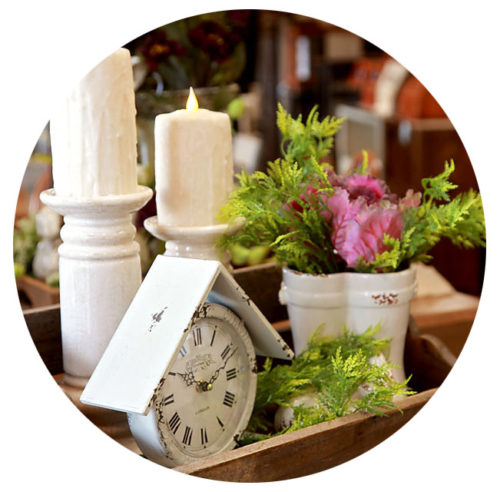 centerpiece.
To create a centerpiece with a unique style, Anna and Erla use a variation of candle holders, figurines like birds or rabbits — for spring! — vases and pottery. Think odd when it comes to adding items to your centerpiece, displaying candle holders, tins or jars in odd numbers like three or five. It is also important to add various heights centerpiece. Along with a variation in textures. For example, if you have a couple different jars it would work great to add burlap to the centerpiece. The coarse burlap would contrast against the smooth texture of the jars creating an eye-catching interest.
Tip: We like to add at least one sign with a quote or saying to our table displays. These quotes about family or inspirational verses create a motivational statement that is unique to your home and family.
Step 3 – Go Seasonal
Embrace the beauty of nature by adding seasonal touches to your centerpieces.
When Erla and Anna decorate for a change in seasons, they typically keep the foundation of the centerpiece — like the tray or lantern — and change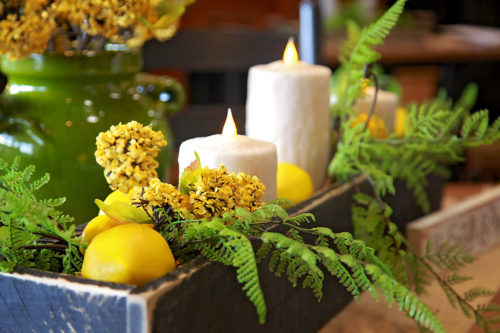 /add extra seasonal touches. Add warm seasonal touches with a mixture of color and objects. For fall, we would use a color scheme with burnt orange, coffee-brown, golden
 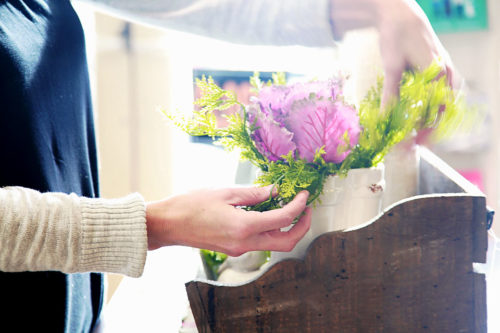 yellow, etc. Adding pumpkins, gourds, or colorful fall leaves can spice up the centerpiece too.
Tip: Be inspired by what’s around you and what you already have. While it’s fun to look for new decorations, it’s also important and very satisfying to experiment with the materials you currently have in your home. Sometimes you just need to look out your window to be inspired.
Your home’s centerpiece doesn’t need to be over-complicated or overdone. With our easy, three-step decorating guide, you can create a centerpiece that is as welcoming as your home. Give it a try!